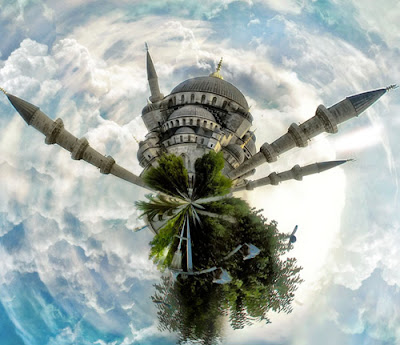
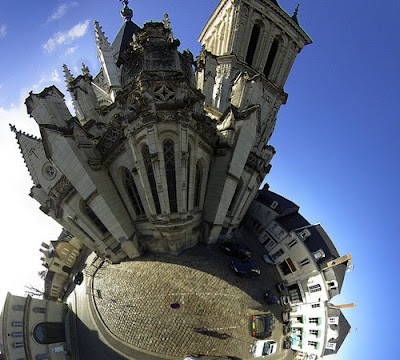
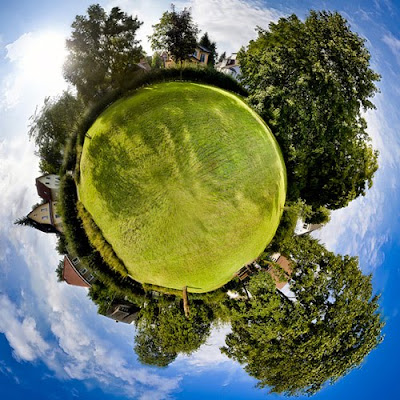
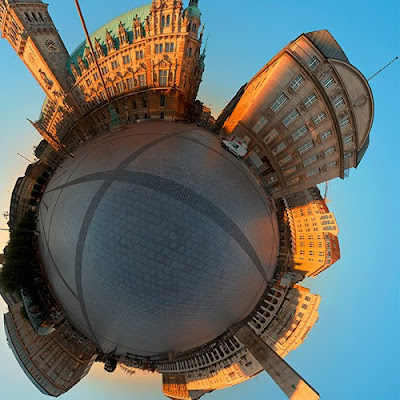
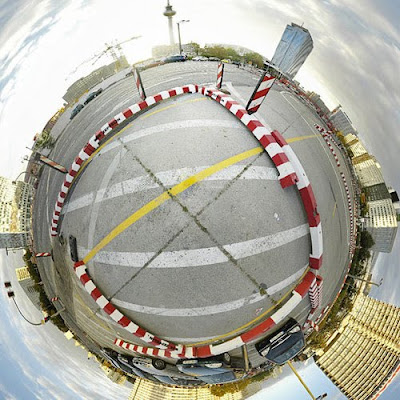
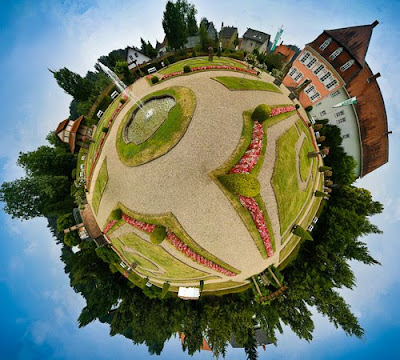
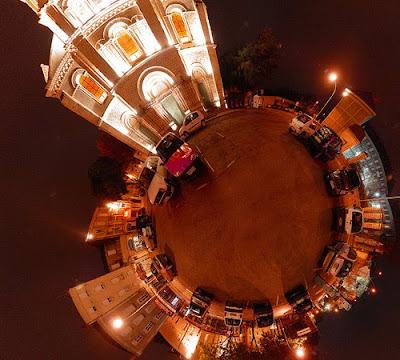
We don’t know about you, but ever since those astronomers kicked Pluto out of the party, we’ve been feeling mighty lonely over here on planet Earth.
But wait! We’ve just the solution: Our pal Dirk wrote up a tutorial that shows you how to turn any panorama or landscape photograph into a full-fledged planet!
Best of all, once you’ve selected an image to work with, the process takes only 5 minutes. (Launching your new planet into solar orbit may take a bit longer.)
How to Create Your Own Planets with Your Panoramas
www.photojojo.com/content/tutorials/create-your-own-panorama-planets/
There are special moments in the life of any photographer that suddenly change his view of his hobby (or profession). For me, those moments included:
* Getting your analog SLR
* Discovering a software that could stitch together photos into a seamless panorama adobe photoshop cs3 or cs 4
* Discovering the rather simple instructions to create my own planet
To make a long story short: The “Polar Panorama Effect” is one of my favorite ways to process photos into unique pieces of art. It takes a panoramic (or landscape) photo and uses the Polar Coordinates filter of Photoshop CS or The Gimp to create a circular image that seems to wrap the panorama around a planet.
Looks cool, and it’s easy to do! Let’s get started.
Selecting a Source Photo for Your Planet
When selecting a photo to start with you should keep the following things in mind:
* Panoramas or landscapes cropped to have an aspect ratio at least 2:1 (the width should be at least two times the height) work best. Wider photos are better.
* The bottom area (bottom 25% or so) of your photo should have very little detail (e.g. sand, asphalt, water). This area will become the center of your planet and will be distorted the most.
* The upper area (upper 25%) of your photo should also be light on detail– preferably just one color (e.g. blue sky, night sky etc.)
* The left and the right edges of your photo should match, or come close to matching, each other. (Always the case for a stitched 360 degree panorama.)
* The horizon must be exactly horizontal. Since the left and right edges of your photo will be joined, if they are at different heights your planet will have a big crack in the surface. (Again, a non-issue for a properly executed 360 degree panorama.)
We’re going to go through two examples: the first uses a simple panorama, the second a landscape shot that we’ll crop before proceeding.
Starting Simple: Planet San Francisco
It’s simplest to work with a 360 degree panorama, so let’s start with this panorama shot of San Francisco taken from the Coit Tower:
168820033_9f33f26583.jpg
Step 1: Resize and Rotate
screenshot1_thumb.jpgThe first thing we need to do is prepare the image for the Polar filter. We do this by stretching the height of the image so that the image is a perfect square.
Select Image>Image Size from the menus. Uncheck ‘Constrain Proporties’ and set the “height” to the same value as your “width”. Next, rotate the image 180 degrees. (Image>Rotate Canvas>180)
You should end up with something like the image to the right.
Step 2: Apply the Polar Filter
Next, we’ll apply the Polar Filter to wrap our image into a sphere.
Choose Filter > Distort > Polar Coordinates from the menus and in the resulting dialog box, select the “Rectangular to Polar” setting.
(If you’re using The Gimp the command is Filters > Distorts > Polar Coords.)
Easy cheesy, right? Now for some finishing touches…
Step 3: Rotate and clean up
The rest is just a little digital darkroom work: Rotate the planet to your liking, adjust the contrast and colors, clean up the sky and the edges where the left and right border of the image came together. (The clone stamp and healing brush may be handy here.) That’s it, we’re done!
this article was produced by :photojojo
the images was produced by :www.hongkiat.com


